| |
Guano grip
|
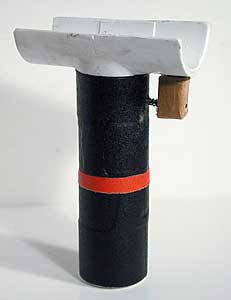
The Guano grip is an easy to make, reliable electronic trigger grip. The readily available parts include a 3/4" sch.40 tee, cap and pipe. Also needed are are small block of wood, 2 small screws and a clothespin. Total cost, about two bucks.
|
|
Cut the PVC tee in half as shown then cut the handle pipe to desired length. Cement the cap, handle and tee together. Inexpensive tape can be used to build up the diameter of the 3/4" handle to bring it even with the diameter of the fittings. Use a cloth tape or grip tape from a sporting goods supply to finish. Gather two small screws, one flat head wood type and one sheet metal type.
|
| |
|
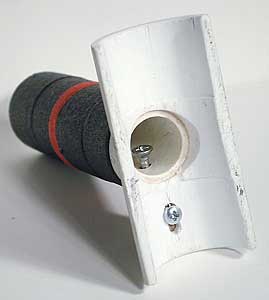
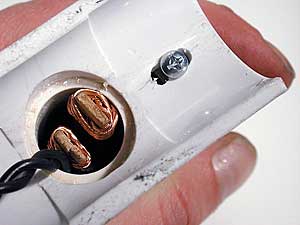
Drill a hole in the handle slightly larger than the wood screw, remove the threads near the head with a Dremel to allow it to slide freely through the hole. Reach down into the the tube with a pair of needle nose pliers and hold the wood screw head firmly, thread the wood block onto this wood screw. Drill a pilot hole in the wood block first. A hard wood of some type should be used to prevent splitting, some broomsticks work well as would a small piece of ash. Shape finger trigger with the Dremel. Check that the wood screw's threads do not hang up on the hole, regrind if needed. Position the trigger for proper travel and mark the area for the guide slot, cut slot with Dremel. Determine sheet metal screw placement after clothespin trigger construction, then drill pilot hole and attach.
|
|
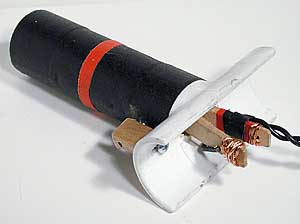
Construct an electronic trigger from a clothespin and copper wire. Drill a hole in the end of both clothespin handle tips to secure the wire in position then tape wiring in place. The exposed copper should be tinned using solder to prevent fraying (not pictured). Terminate the trigger leads with a quick disconnect that can be plugged into the electronic ignition or stun gun.
|
|
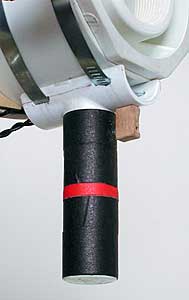
Attaching the Guano grip to the chamber can be as simple as two hose clamps running through the handle and around the combustion chamber. A more finished technique would be to screw the handle directly into the barrel side of the 4" reducing fitting. The photo here clearly shows the safe, non pressurized half of the fitting. There's even enough room to put a lock nut on the other side of your mounting screws.
|
| |
| |
|
Guano grip in action. Mouse over the image for motion.
|
|
|
|
|