|
|
|||||||||||||||||||||||||
|
PVC solvent welding
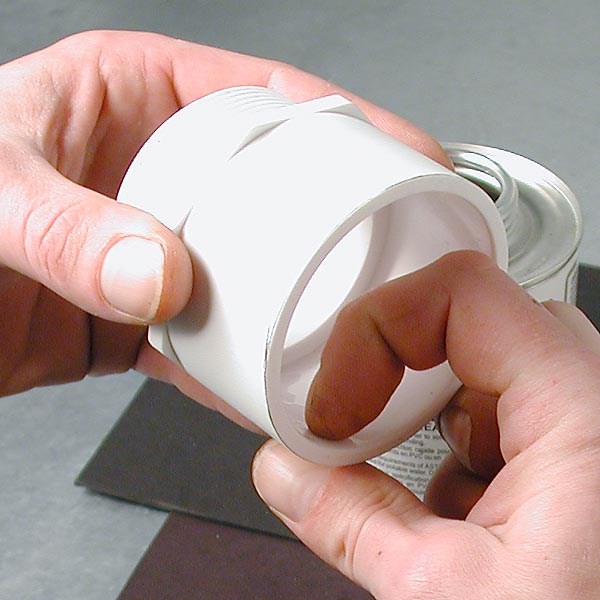
Attaching two pieces of PVC pipe together properly is actually more involved than most people think. Specific techniques have been developed to ensure joints do not fail in plumbing or sewer applications. These established techniques are the same employed during launcher construction although there are no industry guidelines that pertain to spud guns, duh. The suggested technique is called solvent welding. Using specific primers and cement, the pipe is chemically melted together. The resulting joint is extremely strong as the PVC polymers in the contact area liquefy, intertwine then reharden. Prepare a clean, uncluttered area where you can work quickly, this stuff sets up fast. Make sure there is adequate ventilation, PVC solvents are toxic. Eye protection is recommended and paper towels for cleanup and spills should be within easy reach. PVC fittings are ready to use right off the shelf, simply wash and dry them if needed. PVC pipe should be cut square, it is important that the pipe bottoms out evenly inside the fitting to provide strength. After cutting, remove rough edges with a knife or sandpaper. Round off the outer edge of the pipe slightly to avoid scraping the glue off the fitting walls during assembly. There is no need to sand the contact surfaces, PVC pipe and fittings are manufactured within tight tolerances and are pretty much ready to go.
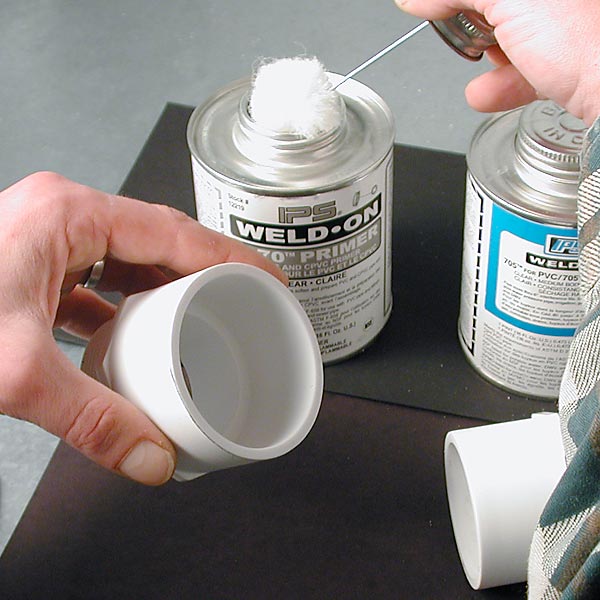
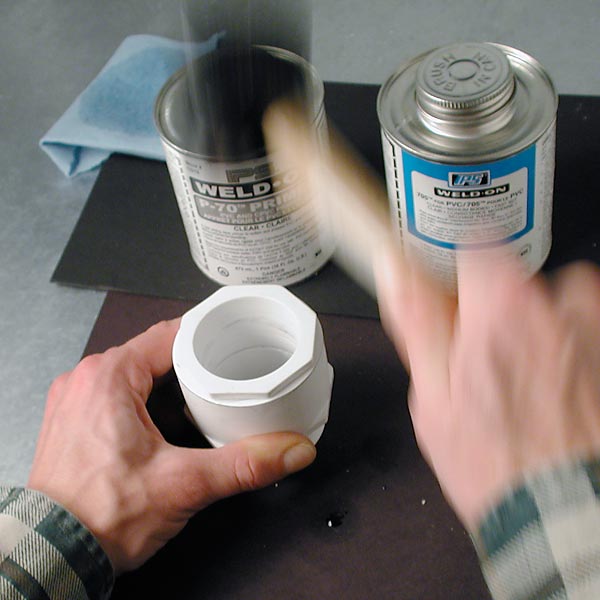
PVC primer and cement come in a variety of sizes and flavors. A dauber is included inside each can. The small dauber in the 8oz. can is good for small fittings and pipe. For larger diameters, use the pint can with the larger dauber. You can buy fancy brushes and daubers from a plumbing supply shop. Purple primer works fine except, it's purple. Clear primer is available to keep your launcher lookin' good although it can be hard to find. Before you start, check that both cans open easily, use channel locks if necessary.
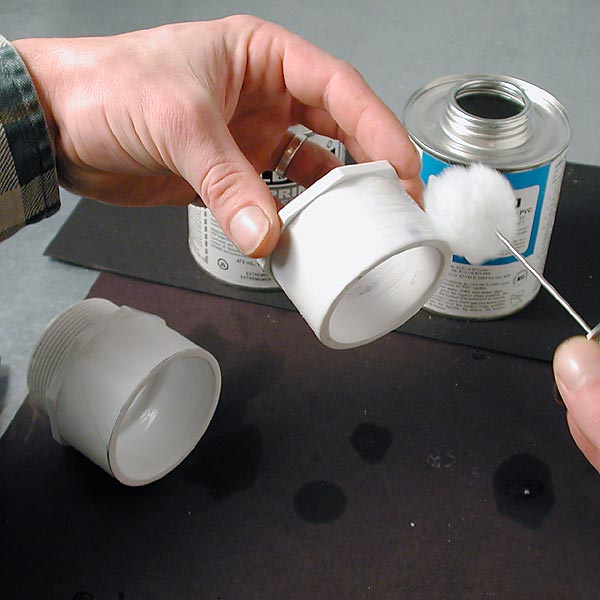
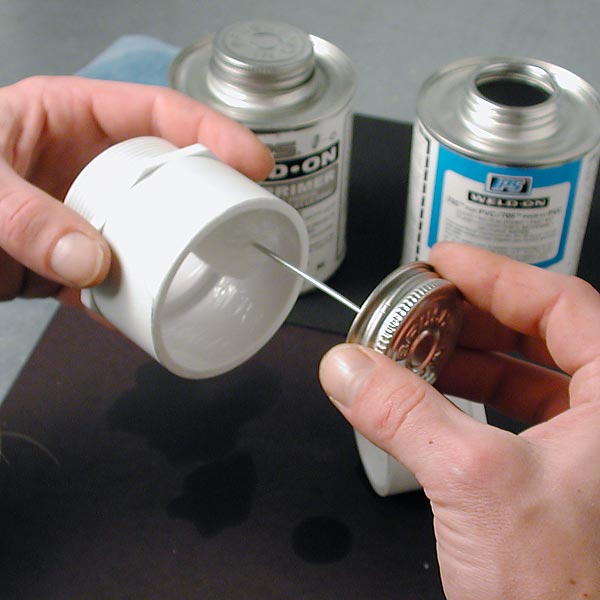
Apply primer to the female fitting using a constant sweeping motion, do not let the solvent puddle or get into the threads. Quickly apply primer to the male fitting. Return to the female fitting and give it a second coat. Keep everything wet, do not allow to dry.
Quickly apply the cement from the opened can. Now is not the time to find out the lid is stuck on. Use a medium bodied, clear PVC cement which is actually just primer (solvent) with PVC polymers added to help the union and fill cracks. Apply to both male and female parts avoiding contact with threaded areas. Mask the threads with tape if needed beforehand.
Allow the solvent to cure for at least 24 hours before testing. Remember, solvent fumes are highly flammable. Do not test your ignition system while fumes are in the chamber. With solvent fumes in the chamber, the launcher is in an armed state. Make sure to remove any projectile from the barrel and leave the end cap off during the curing process.
|
|||||||||||||||||||||||||